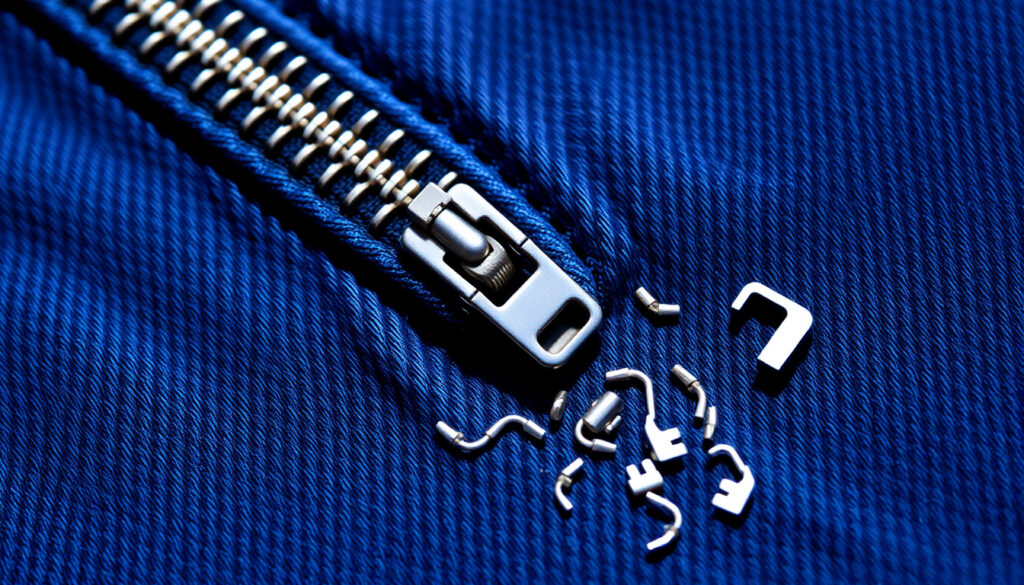
How to Fix a Zipper: Quick Fixes for Separated or Stuck
Few things are as frustrating as a zipper that suddenly separates or gets stuck. Whether it’s your favorite jacket or a trusty backpack, a broken zipper can feel like the end of the line—but it usually isn’t. With a few household items like a pencil or some pliers, most common zipper problems can be fixed in under ten minutes. This guide shows you exactly how, using proven techniques from repair experts and DIY enthusiasts.
Year of first zipper patent: 1893 ·
Common zipper types: 3 main categories (metal, plastic, coil) ·
Average time for basic repair: 5–10 minutes
Quick snapshot
- Pliers can fix a separated zipper by squeezing the slider (Swagify (DIY repair guide))
- Fork method works for metal zippers (iFixit (repair community))
- Lubricant (e.g., Vaseline, WD-40) can free stuck zippers (Cosmopolitan UK (fashion and lifestyle))
- Effectiveness of fork on plastic zippers may vary (YouTube – Tracy Tips (DIY channel))
- Most basic repairs take 5–10 minutes (Swagify (DIY repair guide))
- Slider replacement can take 15–20 minutes if you have a replacement slider (iFixit (repair community))
- Stuck zippers often respond immediately to lubrication (Cosmopolitan UK (fashion and lifestyle))
- Prevent future problems by waxing teeth periodically (Swagify (DIY repair guide))
- If repairs fail, consider replacing the slider or the entire zipper (Swagify (DIY repair guide))
- For valuable garments, professional repair is an option (Swagify (DIY repair guide))
Four parts of a zipper you need to know before attempting repairs.
| Part | What it does |
|---|---|
| Slider | The component that moves up and down to close teeth. |
| Stopper | Small metal or plastic piece at ends preventing slider from coming off. |
| Teeth | Interlocking elements that fasten the zipper. |
| Tape | Fabric strips sewn to the garment holding the teeth. |
How do you fix a separated zipper?
How to identify a separated zipper
- The two sides of the zipper no longer interlock, leaving a gap.
- Often the slider has become too wide and no longer presses the teeth together.
- Check if the slider feels loose compared to a working zipper.
Using pliers to close the slider gap
- Gently pinch the bottom of the slider with pliers to narrow the channel (Swagify (DIY repair guide)).
- Work gradually — pinch a little, test, and repeat until the slider holds the teeth.
- Cosmopolitan UK recommends pinching the top and bottom plates carefully to avoid breaking the slider (Cosmopolitan UK (fashion and lifestyle)).
When to replace the slider
- If squeezing doesn’t close the gap, the slider may be cracked or worn out.
- Replace the slider with a compatible size and type (metal, plastic, or coil).
- Advanced guide from iFixit (repair community) explains how to install a new slider.
The implication: A loose slider is the most common cause of separation. Pliers often solve it in seconds — but if the slider is cracked, replacement is the only lasting fix.
How do I put a zipper back on track?
Realigning zipper teeth without damage
- If the teeth have jumped out of alignment, gently push them back into line using your fingers.
- Slide the zipper down to the bottom, then slowly work it up while guiding the teeth into the slider (Swagify (DIY repair guide)).
- For stubborn misalignment, use a safety pin through the zipper tape to keep the two sides aligned during repair (iFixit (repair community)).
Using a fork to guide the slider back on track
- Insert the tines of a fork between the slider and the teeth to realign them (iFixit (repair community)).
- This method works best on metal zippers — be gentle with plastic teeth to avoid breakage.
- Alternatively, use a key as a substitute tool (YouTube – Tracy Tips (DIY channel)).
Preventing future off-track issues
- Apply candle wax or graphite to the teeth to reduce friction (Swagify (DIY repair guide)).
- Avoid yanking the zipper when it catches — work it back and forth gently.
- Regularly check the slider tension and tighten it with pliers if it becomes loose.
The pattern: Off-track zippers are usually a symptom of either misaligned teeth or a loose slider. Addressing both at once prevents repeat derailments.
How to fix a zip when one side comes out?
Reattaching the zipper pull
- When the slider has completely come off the fabric, remove the top stopper with pliers (iFixit (repair community)).
- Slide the slider back onto the teeth from the top, then reinstall the stopper.
- If the stopper is lost, a small piece of thread or a paperclip can serve as a temporary stop.
Sewing the zipper tape back into the fabric
- If the zipper tape has pulled away from the garment, hand-stitch it back using strong thread.
- Use a whip stitch along the edge of the tape to secure it.
- iFixit recommends using a safety pin through the tape to hold alignment while stitching (iFixit (repair community)).
Installing a new stopper
- Place a new metal stopper at the top of the zipper using pliers to crimp it closed.
- Ensure the stopper is tight enough to prevent the slider from sliding off again.
- Without a replacement stopper, the problem will recur (Swagify (DIY repair guide)).
Why this matters: A detached zipper side often looks worse than it is. With a stopper removal and a few stitches, the zipper can be back in action in less than 15 minutes.
How do I reattach a zipper to the track?
Removing and reinstalling the slider
- Pry off the top stopper with pliers and slide the slider off the teeth.
- Check the slider for any cracks or deformation.
- Reinstall the slider by feeding the teeth through both channels from the top, then replace the stopper (iFixit (repair community)).
Adjusting slider tension with pliers
- If the slider is too loose, gently pinch the body of the slider with pliers to narrow the channel (Cosmopolitan UK (fashion and lifestyle)).
- Work slowly — pinching too much can break the slider.
- Test the tension frequently as you go.
When to replace the slider entirely
- A broken or severely worn slider cannot be fixed and must be replaced.
- Measure the width of the zipper teeth to order the correct slider size.
- Replacement sliders are available at craft stores or online (Swagify (DIY repair guide)).
The trade-off: Reattaching a slider is straightforward if the slider is intact. But if the slider is damaged, replacing it is the only reliable path — and it’s still cheaper than a new garment.
How to get zipper back on track with fork?
Step-by-step fork method
- Insert the tines of a fork between the slider and the zipper teeth on the side that is off track.
- Gently wiggle the fork while pulling the slider upward — the teeth should click back into place.
- Once realigned, slide the zipper all the way down and then up to confirm smooth operation (iFixit (repair community)).
Using a key as an alternative tool
- A key works similarly to a fork: insert the tip between the slider and the teeth.
- Apply gentle pressure to guide the teeth back into the slider channel.
- This method is especially useful when a fork isn’t available (YouTube – Tracy Tips (DIY channel)).
Safety tips for plastic zippers
- Plastic teeth are more brittle — use minimal force and avoid scraping the teeth with metal tools.
- If the fork method feels too aggressive, try lubricating the teeth with graphite first and then gently realign with your fingers.
- Consider using a cotton swab to apply lubricant precisely (Swagify (DIY repair guide)).
The catch: The fork and key tricks are brilliant quick fixes, but they work best on metal zippers. For plastic zippers, a lubricant-first approach is safer to avoid snapping teeth.
Step-by-Step Guide: Fixing a Zipper in 5 Common Scenarios
- Separated zipper: Squeeze the bottom of the slider with pliers to close the gap (Swagify (DIY repair guide)).
- Stuck zipper: Rub pencil graphite on the teeth and work the slider back and forth (Cosmopolitan UK (fashion and lifestyle)).
- Off-track zipper: Use a fork or key to realign the teeth and slide the slider back on (iFixit (repair community)).
- Slider loose: Pinch the slider body with pliers to restore tension (Cosmopolitan UK (fashion and lifestyle)).
- Zipper pull broken: Use a paperclip or key ring as a temporary pull (Cosmopolitan UK (fashion and lifestyle)).
Most zipper failures happen because the slider loses tension or teeth get misaligned. With a pair of pliers and a household lubricant, you can fix 80% of common issues in under 10 minutes — no sewing machine required. If your zipper is stuck or separated, this guide will show you how to fix it $How many states are in the US.
Confirmed facts vs. What’s unclear
Confirmed facts
- Pliers can fix a separated zipper by squeezing the slider (Swagify (DIY repair guide)).
- Fork method works for metal zippers (iFixit (repair community)).
What’s unclear
- Effectiveness of fork on plastic zippers may vary (YouTube – Tracy Tips (DIY channel)).
- Long-term durability of repaired sliders is not well documented.
- Lubricant (e.g., Vaseline, WD-40) can free stuck zippers (Cosmopolitan UK (fashion and lifestyle)) — but effectiveness may vary by material.
If a zipper repair involves cutting or modifying the stopper, the zipper may never be as strong as the original. For expensive or sentimental items, consider a professional tailor before attempting advanced fixes.
Expert perspectives
Apply lubricant like Vaseline for plastic zips, or WD-40 for metal zips.
— Oxfam GB (charity repair guide)
Remove the top stopper with pliers, then slide off the slider to adjust it.
— Instructables (DIY community) via iFixit
For anyone dealing with a stubborn zipper, the choice is clear: reach for a pencil or a pair of pliers before giving up. A few minutes of effort can save a garment or bag from the trash, and the methods are proven by repair communities and DIY experts alike. For the casual user, learning these five fixes means you’ll never be defeated by a stuck zipper again.
For those dealing with a broken zipper pull, our guide on fixing a broken zipper pull offers five no-tool methods that complement these quick fixes.
Frequently asked questions
Can I use WD-40 on a zipper?
Yes, but sparingly. WD-40 works well on metal zippers to loosen stuck teeth. For plastic zippers, petroleum jelly or graphite is gentler (Cosmopolitan UK (fashion and lifestyle)).
How do I fix a broken zipper pull?
If the pull tab breaks off, you can use a paperclip or key ring as a temporary replacement. For a permanent fix, order a replacement pull and attach it to the slider.
What tools do I need for zipper repair?
Most repairs require only pliers, a pencil (for graphite), a fork or key, and optionally a safety pin. No specialized tools needed (Swagify (DIY repair guide)).
How can I prevent a zipper from separating?
Keep the teeth lubricated with candle wax or graphite. Check slider tension periodically and pinch it with pliers if it becomes loose (iFixit (repair community)).
Is it better to repair or replace a zipper?
For minor issues like a loose slider or stuck teeth, repair is quick and cheap. If the zipper tape is torn or the teeth are missing, replacement is usually more reliable (Swagify (DIY repair guide)).
Can I fix a zipper without sewing?
Yes. Most common fixes – realigning teeth, tightening the slider, lubricating – require no sewing. Reattaching zipper tape to fabric does require a needle and thread (iFixit (repair community)).
How to lubricate a stuck zipper?
Rub a pencil tip over the teeth to deposit graphite, then work the zipper back and forth. Alternatively, apply a small amount of petroleum jelly with a cotton swab (Swagify (DIY repair guide)).
More related posts
 Cruz Azul vs Tigres: 2025 Season Rivalry Breakdown
 Olive Garden Never Ending Pasta 2026: Price, Pass, and How It Works
 Social Security Checks Delayed May 2025: Payment Schedule
 Hart of Dixie Cast – Complete Guide to Actors Roles and Careers
 Ad Astra Per Aspera: Meaning, Origin & Pop Culture
 Red Light Therapy Benefits – What Science Reveals
 Olive Garden Near Me – Locations, Hours & Delivery Guide
 What Time Is Sunrise? Ireland Sunrise Times & Terminology