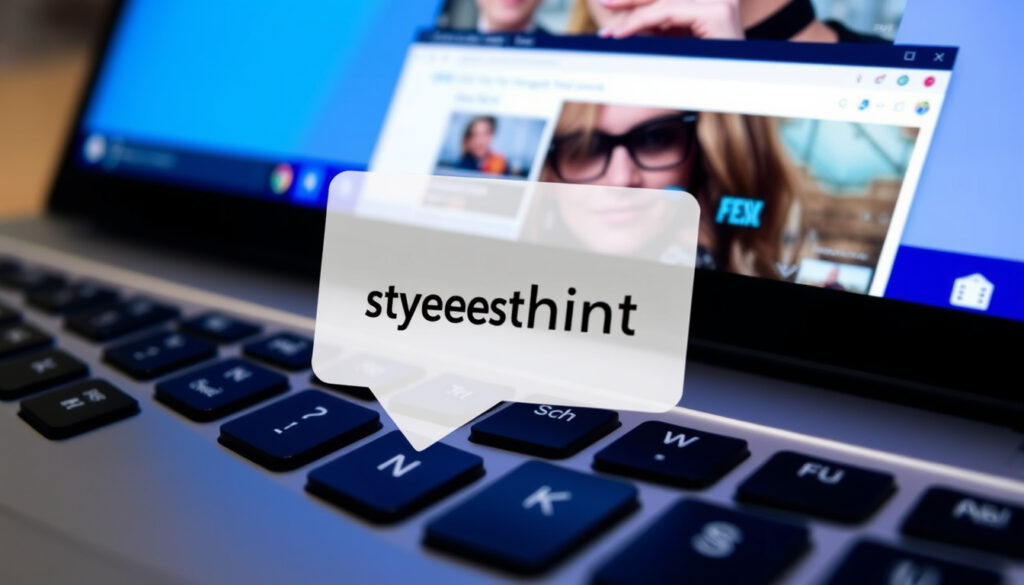
How to Take a Screenshot on a Chromebook: Complete Guide
If you recently switched from a Windows laptop to a Chromebook, the first thing you probably noticed is that there’s no Print Screen key. ChromeOS replaces it with the Show Windows key (F5), and a clean set of keyboard shortcuts that save screenshots directly to your Downloads folder.
Full-screen shortcut: Ctrl + Show Windows ·
Partial-screen shortcut: Shift + Ctrl + Show Windows ·
No Windows key fallback: Ctrl + F5 ·
Clipboard-only capture: Ctrl + Alt + Z ·
Save location: Files > Downloads ·
File name format: Screenshot YYYY-MM-DD at HH.MM.SS AM/PM.png
Quick snapshot
- Press Ctrl + Show Windows — saves directly to Downloads (Google Chromebook Help (official ChromeOS documentation))
- Fastest method, no need for menu navigation (Google Chromebook Help (official ChromeOS documentation))
- Press Shift + Ctrl + Show Windows, then drag to select area (Lenovo (Chromebook hardware manufacturer))
- Auto-saves to Downloads (Lenovo (Chromebook hardware manufacturer))
- Press Ctrl + Alt + Z, select a region — no file saved (Google Chromebook Help official documentation)
- Paste with Ctrl + V into any app
- Shift + Ctrl + Show Windows opens the toolbar with full, partial, and window modes (Android Police (tech media))
- Also accessible from Quick Settings > Screen Capture (Android Police (tech media))
How do I screenshot on a Chromebook?
Full-screen shortcut
The fastest way to capture everything on your display is to press Ctrl + Show Windows. On most Chromebooks, the Show Windows key is located where the top row’s F5 key sits, often labeled with an icon of a rectangle with two vertical lines or a small window. The screenshot is saved automatically as a PNG file in your Downloads folder. According to Google Chromebook Help (official ChromeOS documentation), this method works across all Chromebook models, whether from Google, ASUS, Lenovo, HP, or Dell.
Partial-screen shortcut
To capture only a portion of the screen, press Shift + Ctrl + Show Windows. Your cursor changes to a crosshair, and you click and drag to select the area you want. The image is automatically saved to Downloads. ASUS Support (manufacturer’s Chromebook support) notes that after pressing this combination you can also choose a screenshot feature from the toolbar that appears at the bottom of the screen.
Using the screen capture toolbar
The same shortcut — Shift + Ctrl + Show Windows — launches the full Screen Capture toolbar. From there you can pick between three modes: full screen, partial area, or a specific window. Lenovo (Chromebook hardware manufacturer) highlights the toolbar as the central hub for both screenshots and screen recordings, including options to show mouse clicks and key presses.
- Press Shift + Ctrl + Show Windows to open the Screen Capture toolbar.
- Choose between full screen, partial area, or a specific window mode.
- Click the capture button or tap the screen to take the screenshot.
“You can take a screenshot or record a video of your screen on your Chromebook. You can capture a full screen, a window, or a partial screen.”
Google Chromebook Help
How do I take a screenshot on a Chromebook without a Windows key?
Where is the Show Windows key?
Chromebook keyboards replace the traditional Windows key with the Show Windows key (also called the Overview key or Window Switcher key). On most models, it’s located between the Fullscreen key (F4) and the Brightness Down key (F6). The key is typically marked with an icon of a rectangle with two vertical lines. ASUS Support (manufacturer’s Chromebook support) confirms that this key serves the same function as the missing Windows key for screenshot shortcuts.
Different Chromebook manufacturers may label the Show Windows key differently (e.g., Overview key, Window Switcher key), but the function and keyboard shortcuts remain consistent across brands.
Alternative shortcut using F5
If your Chromebook keyboard does not have a dedicated Show Windows key — for example, when using an external keyboard — you can use Ctrl + F5 to capture the full screen. Google’s official documentation documents this fallback, noting that on external keyboards without a Show Windows key, Press Ctrl + Shift + F5 works as an alternative.
Chromebooks with dedicated screenshot button
Some newer Chromebooks include a dedicated screenshot key in the top row. This key often has a camera icon or a rectangle with a dotted border. Pressing it instantly captures the screen. According to Android Police (tech media), this button simplifies the process for users who prefer a single press over a two-key shortcut.
The implication: Users moving from Windows to ChromeOS need to learn only a few new key positions, and the dedicated screenshot button on newer models further reduces the learning curve.
What does Ctrl+Alt+Z do on a Chromebook?
Clipboard screenshot function
Press Ctrl + Alt + Z to capture a selected region of the screen directly to your clipboard. Unlike the standard shortcuts, this method does not save a file to your Downloads folder. The captured image is stored only in memory, ready to be pasted. Google’s ChromeOS documentation describes this as a clipboard-only screenshot, useful for temporary sharing.
How to paste the clipboard screenshot
After pressing Ctrl + Alt + Z, select the area you want to capture. Then open the destination app (e.g., a document, email, or image editor) and press Ctrl + V to paste the image. This is especially handy when you want to avoid cluttering your Downloads folder with one-off captures.
The clipboard screenshot method gives you a temporary copy without creating a permanent file. For quick sharing in chat apps or documents, it’s often faster than deleting unwanted screenshots later.
The implication: Using Ctrl + Alt + Z for clipboard-only captures can significantly cut down on digital clutter for users who take many temporary screenshots throughout the day.
How do I go to my screenshots on Chromebook?
Finding screenshots in the Files app
All screenshots captured with the keyboard shortcuts are saved by default to the Downloads folder. To open them, click the Launcher (circle icon) and open the Files app, then select Downloads. Screenshots are named using the format: Screenshot YYYY-MM-DD at HH.MM.SS AM/PM.png. Lenovo (Chromebook hardware manufacturer) confirms that the naming convention is consistent across ChromeOS versions.
Opening screenshots from notification
Each time you take a screenshot, a notification appears in the bottom-right corner. Clicking that notification opens the preview directly. You can also right-click the notification to share, edit, or delete the image. Google Chromebook Help (official ChromeOS documentation) recommends this as the quickest way to access your latest screenshot.
How do I crop a screenshot on Chromebook?
Using the built-in Gallery app
ChromeOS comes with a preinstalled Gallery app that includes a basic image editor. Open your screenshot from the Downloads folder, click the crop icon (a right-angle shape) in the toolbar, and drag the selection handles to keep only the part you want. Save the cropped version by pressing Ctrl + S. Android Police (tech media) points out that Gallery also supports annotations and resizing.
Using Google Photos or third-party tools
If you prefer cloud-based editing, you can upload your screenshot to Google Photos, which offers a basic crop tool accessible from any browser. For more advanced editing, apps like Pixlr or Adobe Express work directly in ChromeOS without installation. If you need to translate text captured in your screenshots, check out our guide on English to Hindi Translation: Free Tools & Apps Guide. You can also explore Free AI Photo Generator: Best Tools Compared for creative alternatives.
“The Gallery app is a surprisingly capable image editor for basic tasks like cropping, rotating, and resizing. You don’t need to install anything extra.”
CNET (editorial tech review)
The pattern: ChromeOS provides a built-in editing workflow for screenshots, from capture to cropping, without requiring third-party software for basic adjustments.
Clarity check: Confirmed facts vs. What’s unclear
Confirmed facts
- Ctrl + Show Windows captures the full screen on all models.
- Shift + Ctrl + Show Windows captures a selected area.
- Ctrl + F5 is the fallback for full screenshots on older Chromebooks without a Show Windows key.
- Screenshots are saved as PNG files in the Downloads folder.
- The Screen Capture toolbar offers full, partial, and window modes.
- Ctrl + Alt + Z captures a region to clipboard without saving a file.
What’s unclear
- Whether the exact key placement for Show Windows varies across Dell, Lenovo, and HP models (though the function is identical).
- Whether future ChromeOS updates will add new clipboard screenshot shortcuts.
- Whether the dedicated screenshot key is available on all new Chromebooks or only premium models.
- Whether Ctrl + Alt + Z works identically on all Chromebook models and external keyboards.
- Whether the Screen Capture toolbar will continue to offer the same three modes in future updates.
- Whether Lenovo Chromebooks retain the same naming convention for screenshots across different versions of ChromeOS.
Summary: What this means for Chromebook users
The takeaway is simple: Chromebooks handle screenshots differently from Windows, but the system is consistent and fast once you understand the key role of the Show Windows key. For everyday use, memorize Ctrl + Show Windows for full screen and Shift + Ctrl + Show Windows for partial captures. If you’re on an external keyboard, Ctrl + F5 saves the day. For the average user, the clipboard shortcut (Ctrl + Alt + Z) offers a clean way to share images without leaving extra files behind. The trade-off is learning a new key position — but after a few tries, it becomes second nature.
For a comprehensive walkthrough of every native method, check out a detailed guide on Chromebook screenshots that also covers touchscreen gestures and the clipboard tool.
Frequently asked questions
Does a Chromebook have a print screen key?
No, Chromebooks do not have a dedicated Print Screen key. Instead, use Ctrl + Show Windows for full-screen captures or Shift + Ctrl + Show Windows for partial captures.
Can I take a screenshot on a Chromebook without using the keyboard?
Yes. Open Quick Settings (click the time area), then select the Screen Capture icon. You can also use the Screen Capture toolbar launched by Shift + Ctrl + Show Windows.
Why is my Chromebook screenshot not saving?
Check that your Downloads folder isn’t full. Also, ensure you are using the correct shortcut: on some external keyboards, use Ctrl + F5 instead of Ctrl + Show Windows. If the issue persists, restart your Chromebook.
How do I take a screenshot on a Chromebook in tablet mode?
Press the Power button + Volume down button simultaneously. On some tablets, you can also open Quick Settings and tap Screen Capture.
How do I take a screenshot on a Chromebook with a stylus?
Some Chromebooks with stylus support allow you to take a screenshot by tapping the stylus button or by using the Screen Capture toolbar from Quick Settings.
What is the difference between a full screenshot and a clipboard screenshot?
A full screenshot saves a PNG file to Downloads. A clipboard screenshot (Ctrl + Alt + Z) copies the image to your clipboard without saving a file, letting you paste it directly into another app.
Can I take a screenshot on a Chromebook while using an external monitor?
Yes. The shortcuts capture the primary display. To capture the external monitor alone, make it the primary display in Settings > Displays, or use the Screen Capture toolbar to select which screen to capture.
More related posts
 F1 (Film) Reviews 2025: Is It Worth Watching? Brad Pitt & Scores
 AT&T Store Near Me in Ireland: Roaming, Plans & Travel Tips
 Mi State vs Nebraska – Nebraska Wins 38-27 Full Recap
 Allpoint ATM Near Me: Fees, Limits & Locations
 English to Hindi Translation: Free Tools & Apps Guide
 Iron Ore Sherwin Williams: LRV, Undertones & Pairings
 Steelers vs Bears 2025: Final Score & Player Stats | Game Recap
 The Empress Season 2: Recap, Accuracy & Season 3 News